Manage service accounts
This page describes how to use and manage service accounts for Anyscale Clouds on GCP.
Within a Cloud, clusters run with a service account. Grant proper permissions to this service account for developers to access all required resources.
Default service account
When you deploy an Anyscale Cloud on GCP, Anyscale configures a default service account that runs all Ray clusters within it. This service account looks like the following:
<Anyscale Cloud ID with dashes, not underscores>@<project_id>.iam.gserviceaccount.com
e.g., cld-xyzabc@<project_id>.iam.gserviceaccount.com
- For GCE-based deployments, the project ID is the GCP project associated with your cloud.
- For legacy GKE deployments, you can find the service account in the
Provider Identitycolumn in clouds table on the configurations page.
Determine the service account on a running cluster by running:
python -c "import google.auth.transport.requests; c,_=google.auth.default(); \
c.refresh(google.auth.transport.requests.Request()); print(c.service_account_email)"
Use an existing service account
This section walks through the steps to configure Anyscale Clusters to use an existing service account. For help on how to create a service account, see this guide.
Configure an existing service account (GCE)
To use a service account on Anyscale, grant Anyscale access to the service account and then grant the service account access to the GCS Bucket.
Access to the service account
No additional setup is required for service accounts in the same GCP Project as your Anyscale Cloud. If this doesn't work, ensure the Compute Engine Service Agent has the compute.serviceAgent role on the specified service account.
Service accounts in a separate GCP project require additional configuration:
-
Disable the
iam.disableCrossProjectServiceAccountUsageBoolean constraint in the service account's project. -
Grant the Compute Engine Service Agent (format below) in the Anyscale Cloud's project the
compute.serviceAgentrole on the desired service account.
service-<Anyscale Cloud Project Number>@compute-system.iam.gserviceaccount.com
-
Grant the Anyscale access service account the
roles/iam.serviceAccountUserrole on the desired service account. This is necessary for the access service account to attach your service account to an instance. -
Ensure the service account that you are configuring has read, write, and list access to the Google Storage bucket associated with your Anyscale cloud.
The GCP Project returned by Application Default Credentials is the Anyscale Cloud's Project, not the service account's project.
Access to cloud storage
Anyscale Clusters require permission to read and write from their Anyscale Cloud's GCS Bucket. Grant this service account the Storage Admin role on the GCS Bucket associated with this Cloud to provide the broadest set of permissions.
Configure an existing service account (legacy GKE)
This section walks through the steps to configure an existing service account for your Cloud.
- Navigate to the GCP service account page and click
Select a Project.
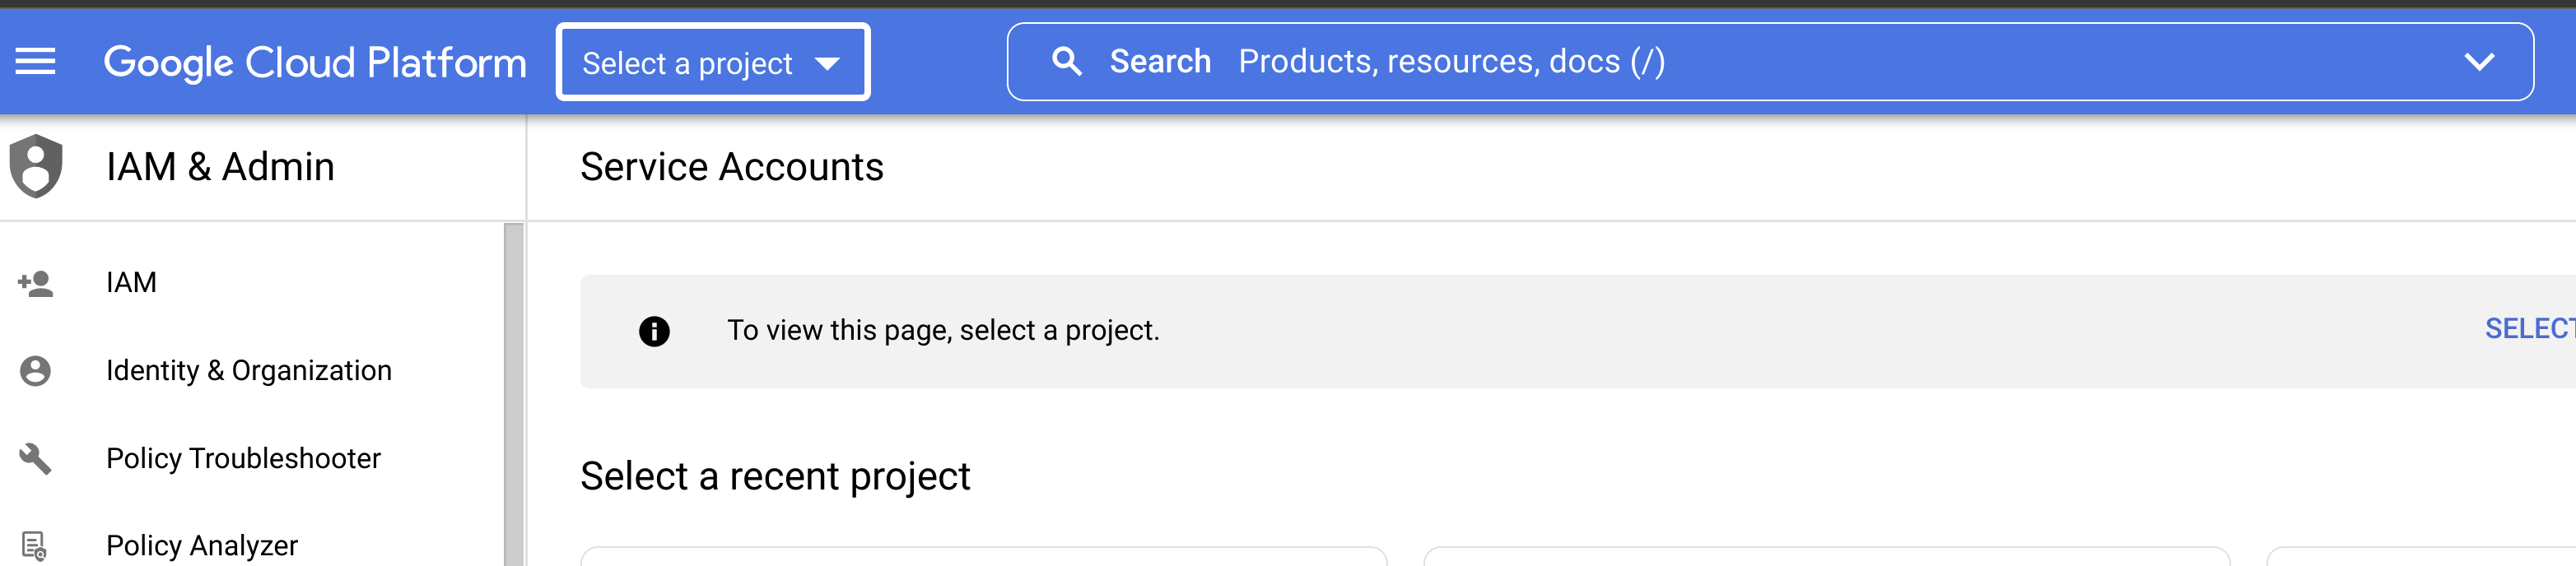
- Select the project that contains the service account. Find the project ID in the service account email. The format for service account emails is:
service-account-name@project-id.iam.gserviceaccount.com.
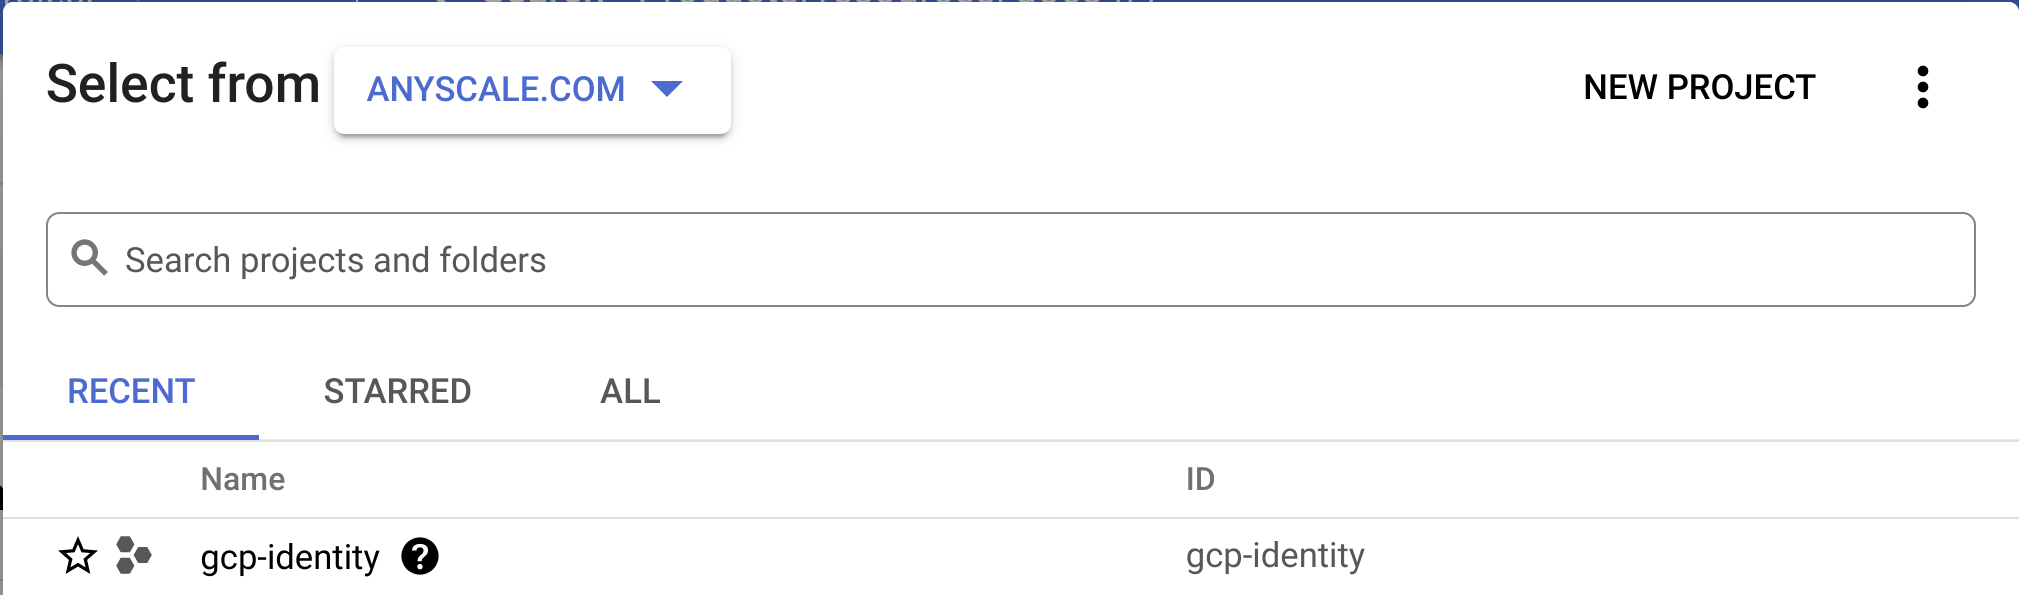
- Select the service account you want to use.

- Go to the Permissions Tab on the top of the page.

- Click the "Grant Access" button.
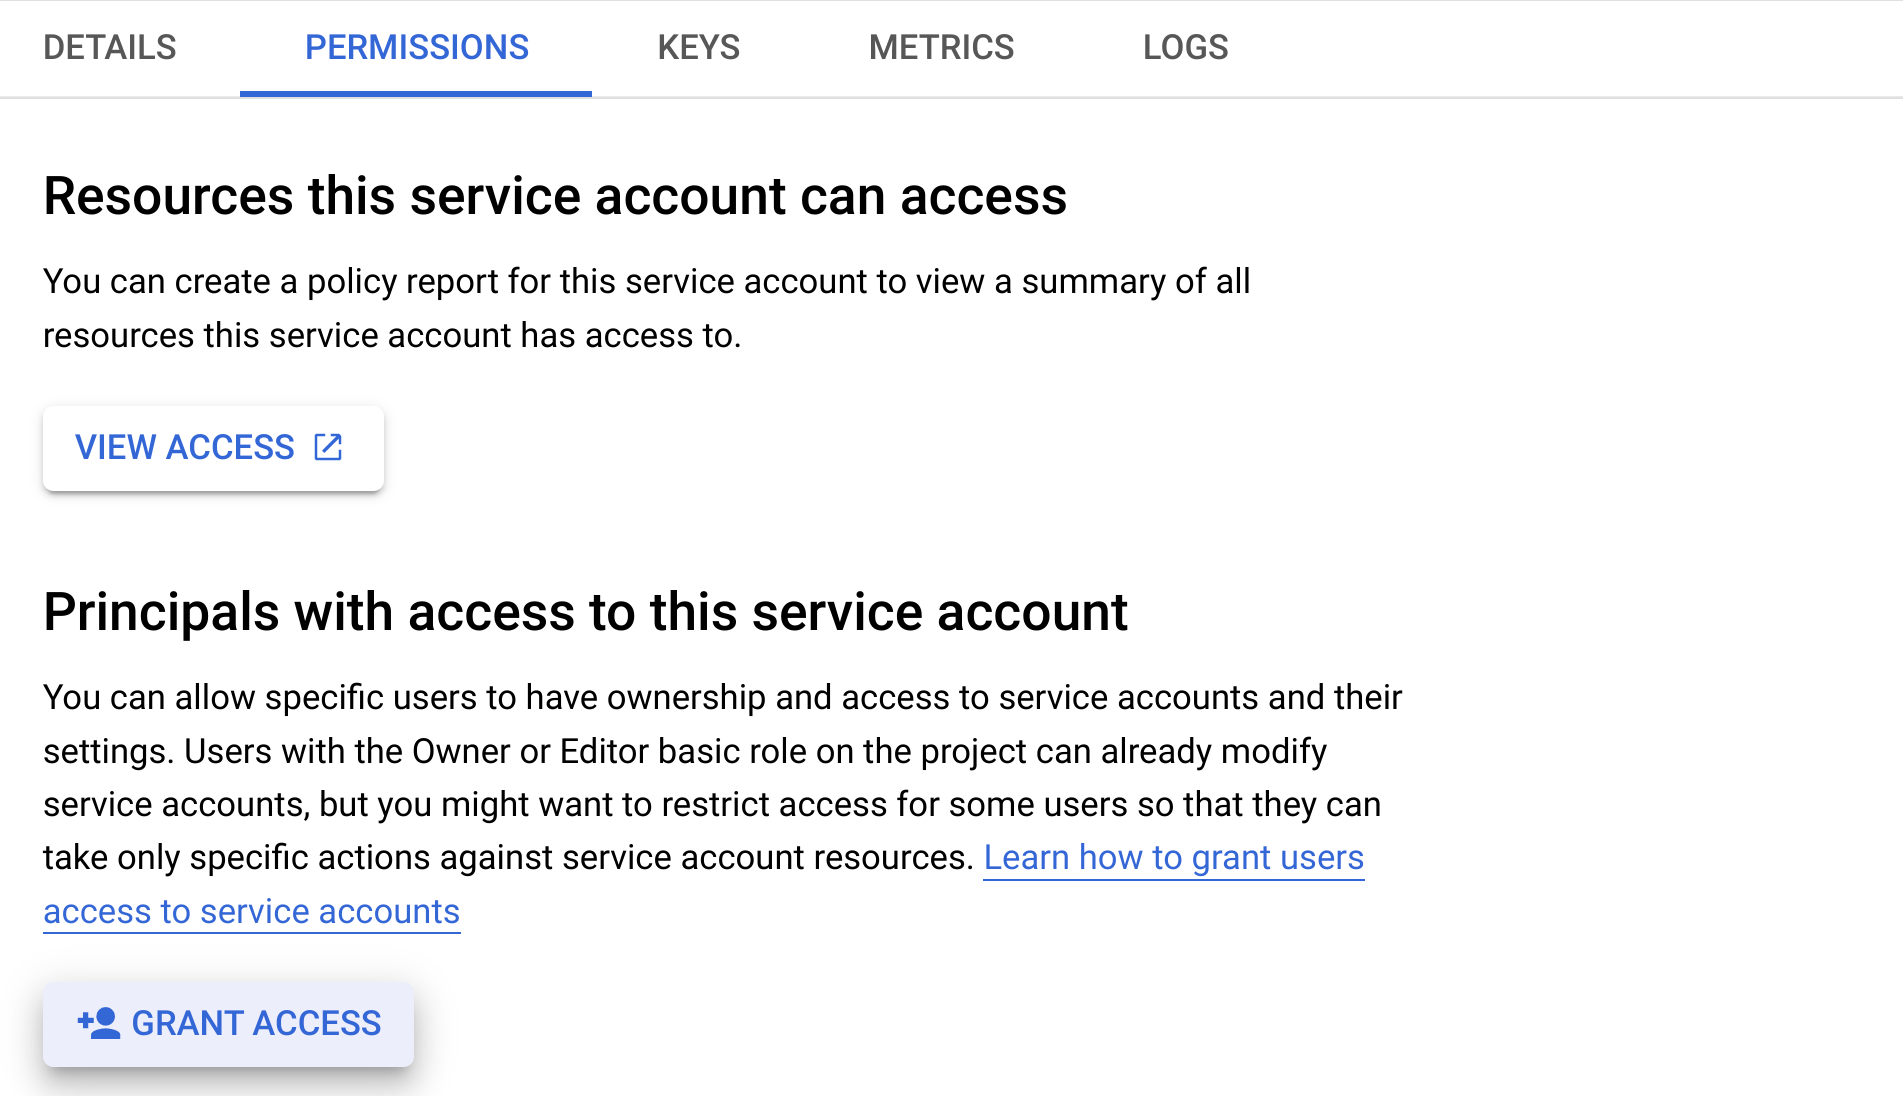
- In the "New Principals" box, type your cloud-specific service account. This cloud specific service account
should look like
<cloud_id>@<bridge_project_id>.

- In the "Role" box, search for “Service Account Token Creator” and select it.
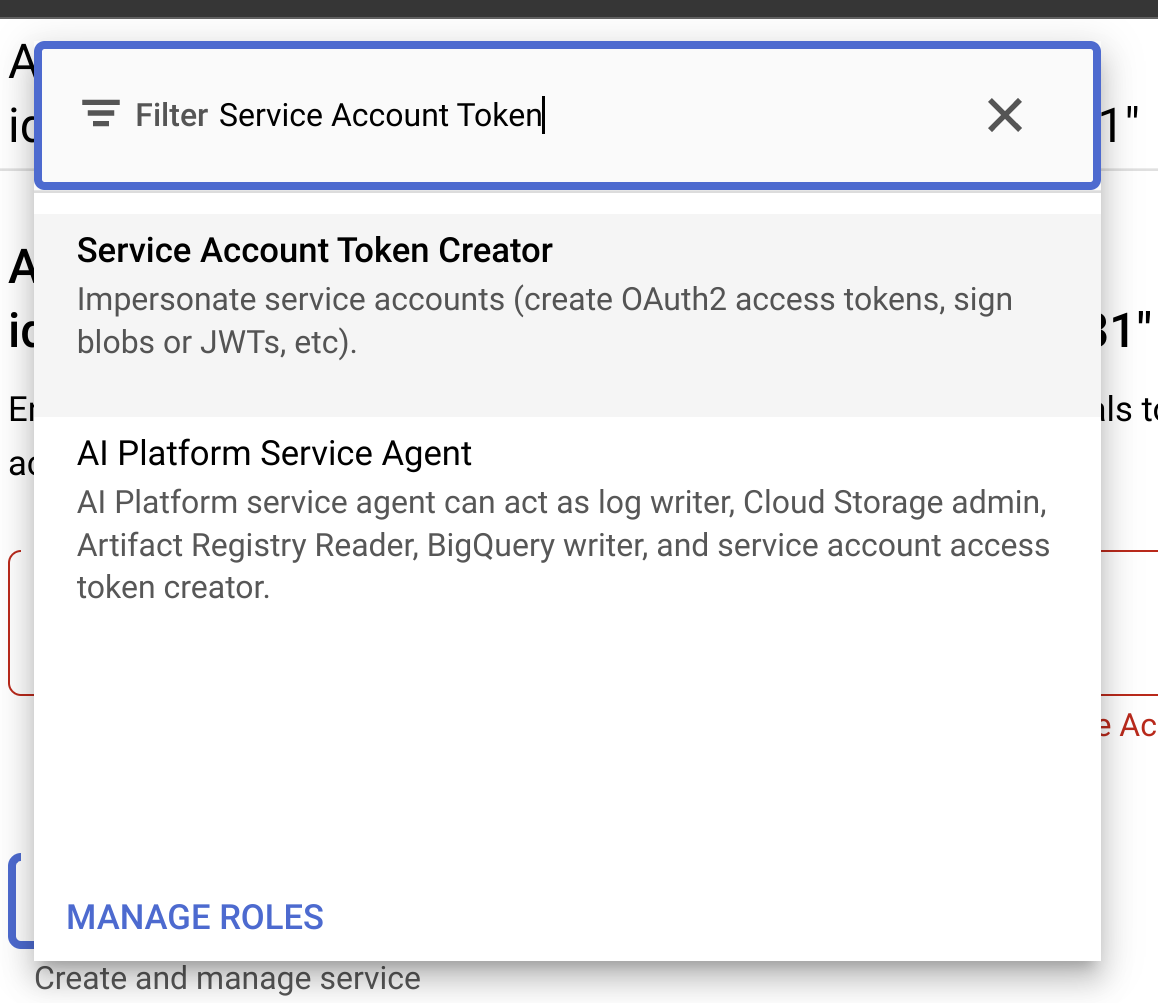
- Click
Save.

Configure clusters to use this service account
With service account setup completed, configure clusters to use it. Use the service account email from the previous step.
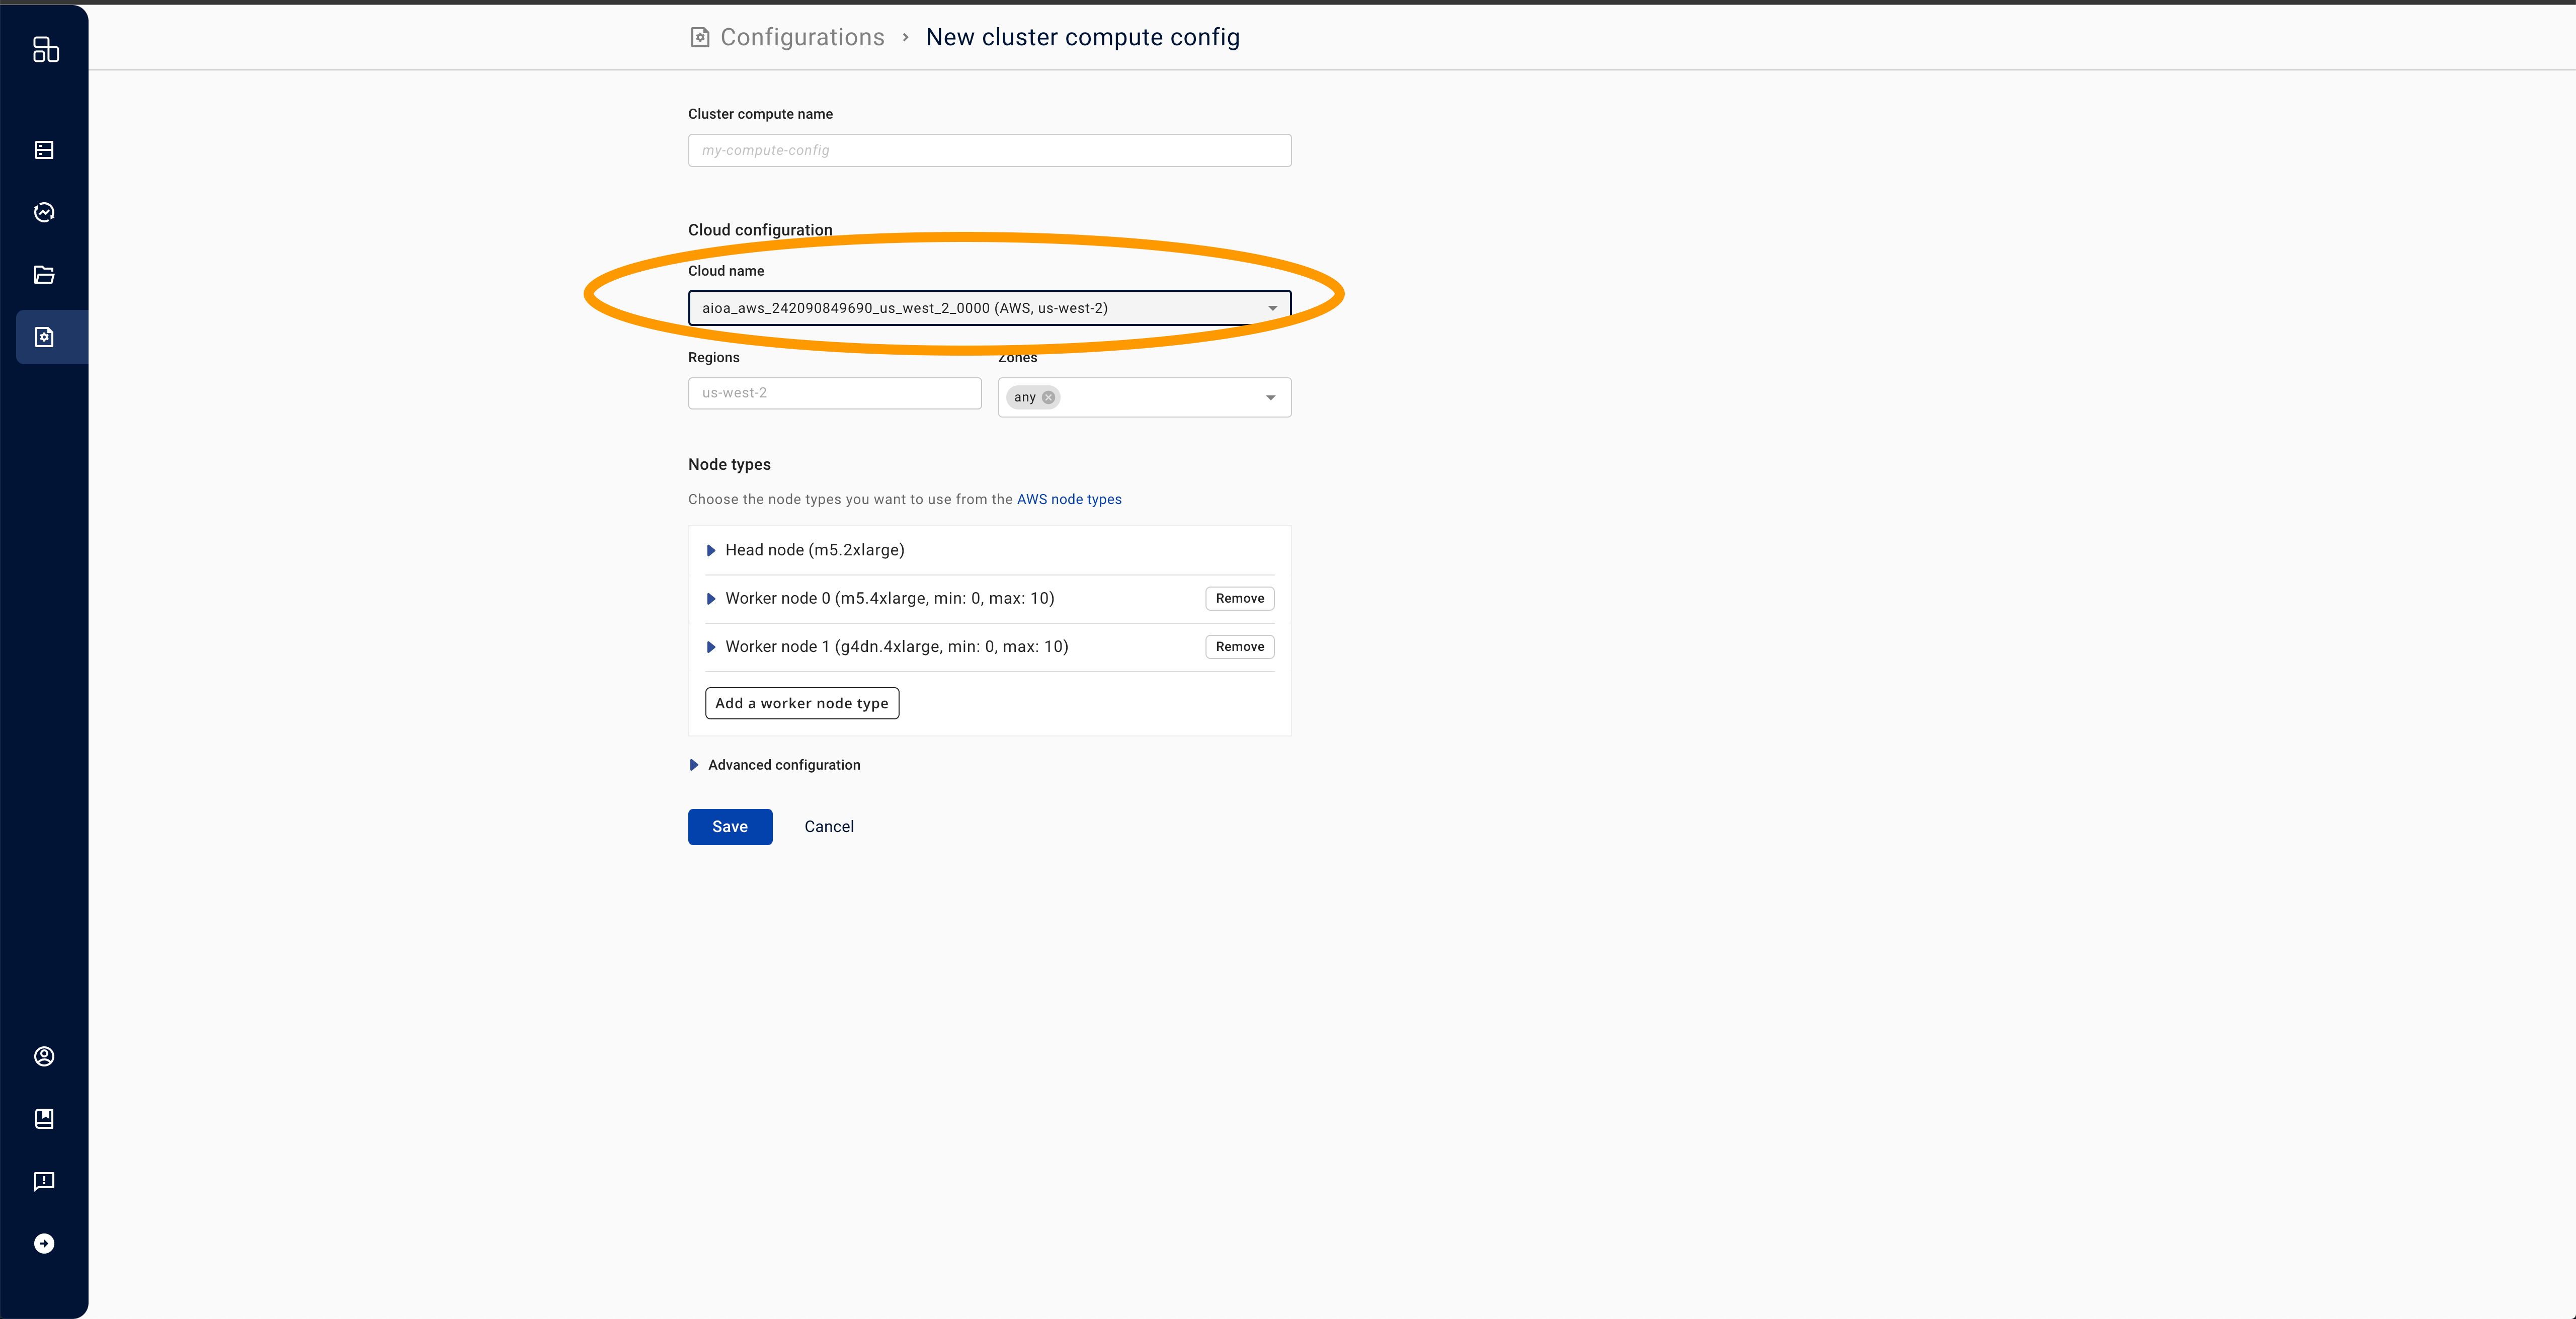
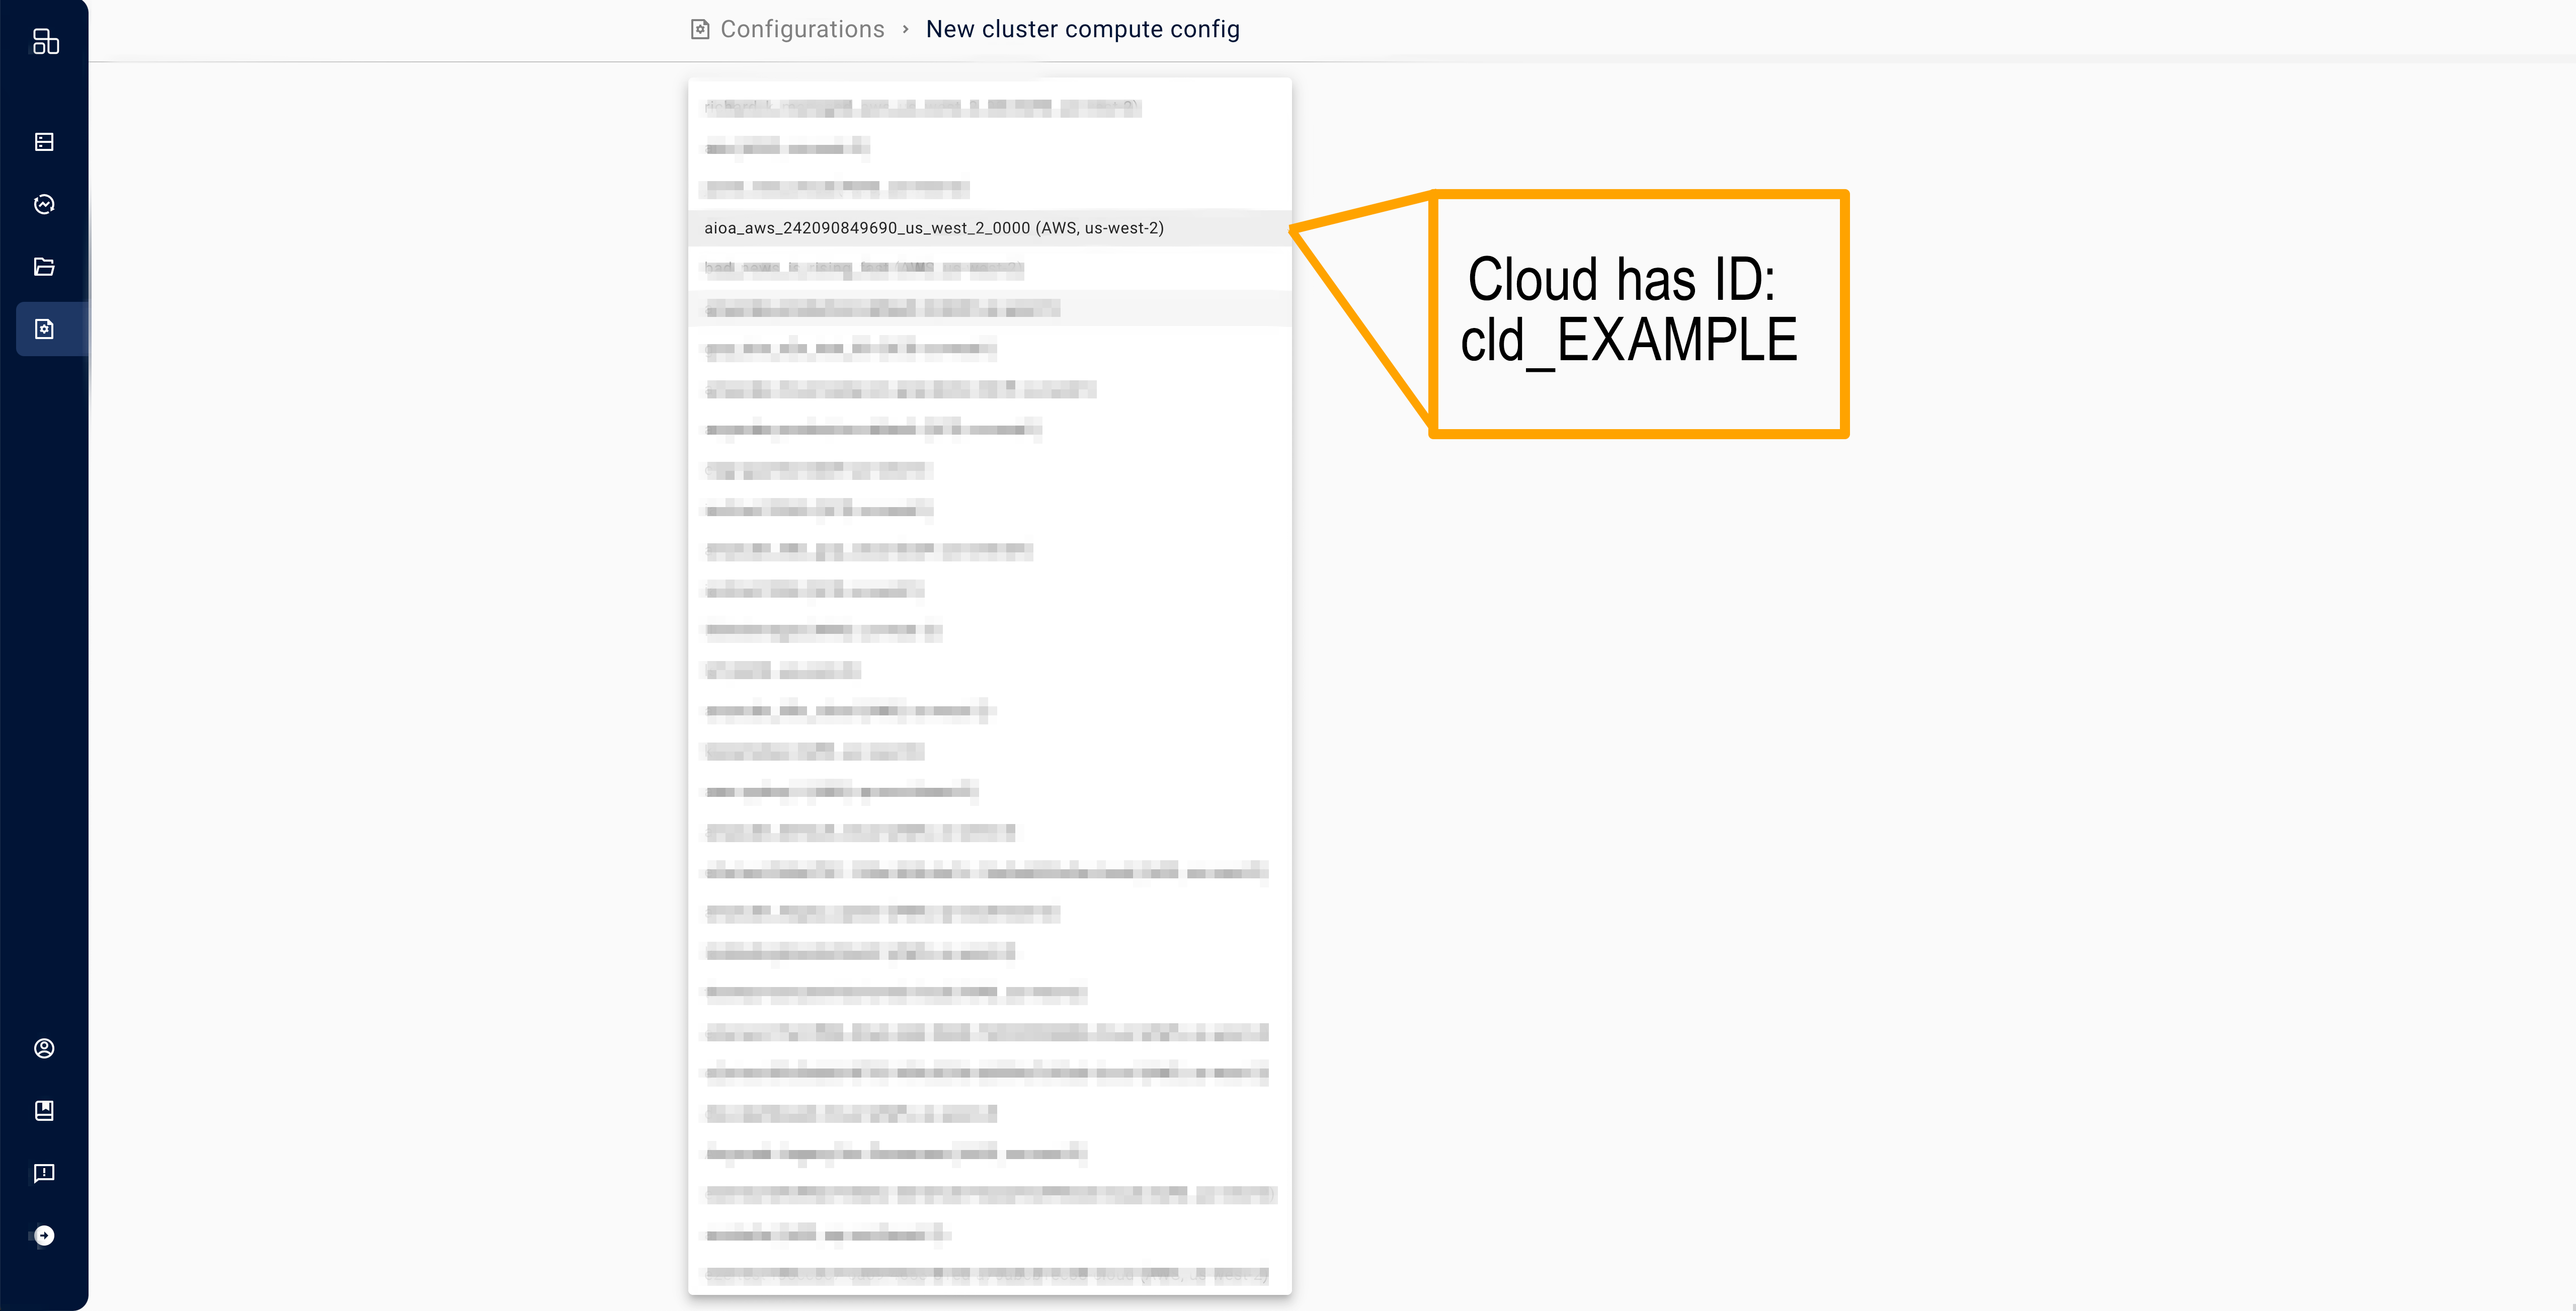
- Create a new cluster compute (here). Select the cloud tied to the cloud-specific service account from Step 6 above.
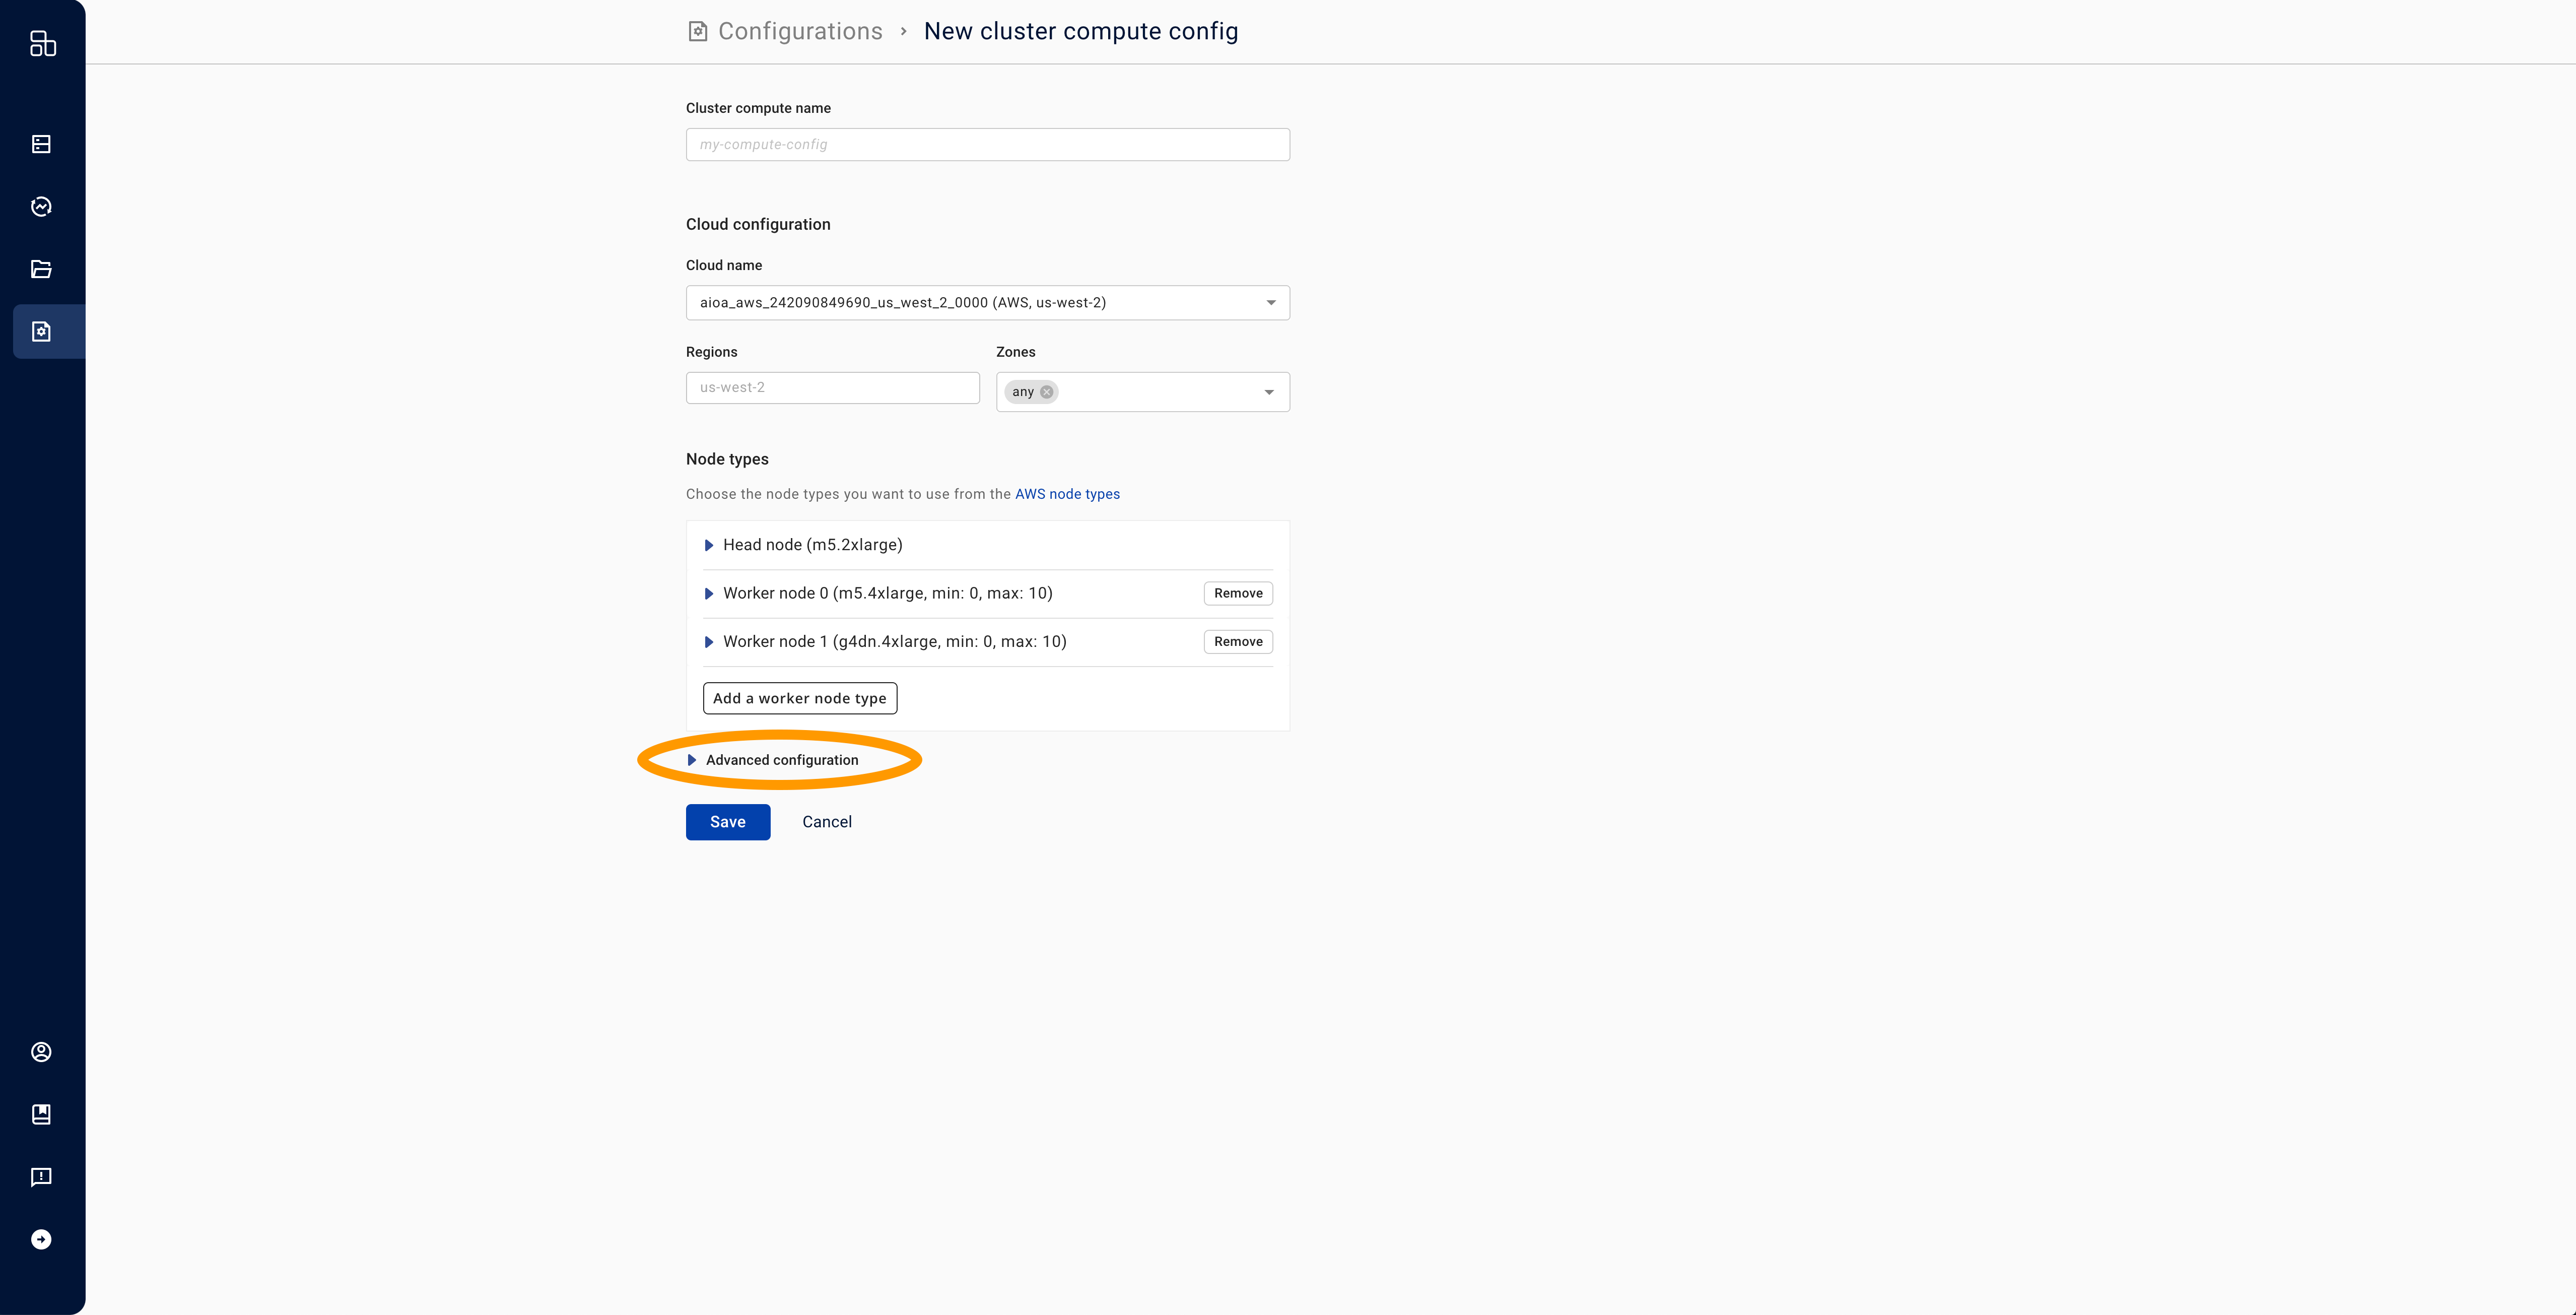
- Expand the "Advanced configuration" box.
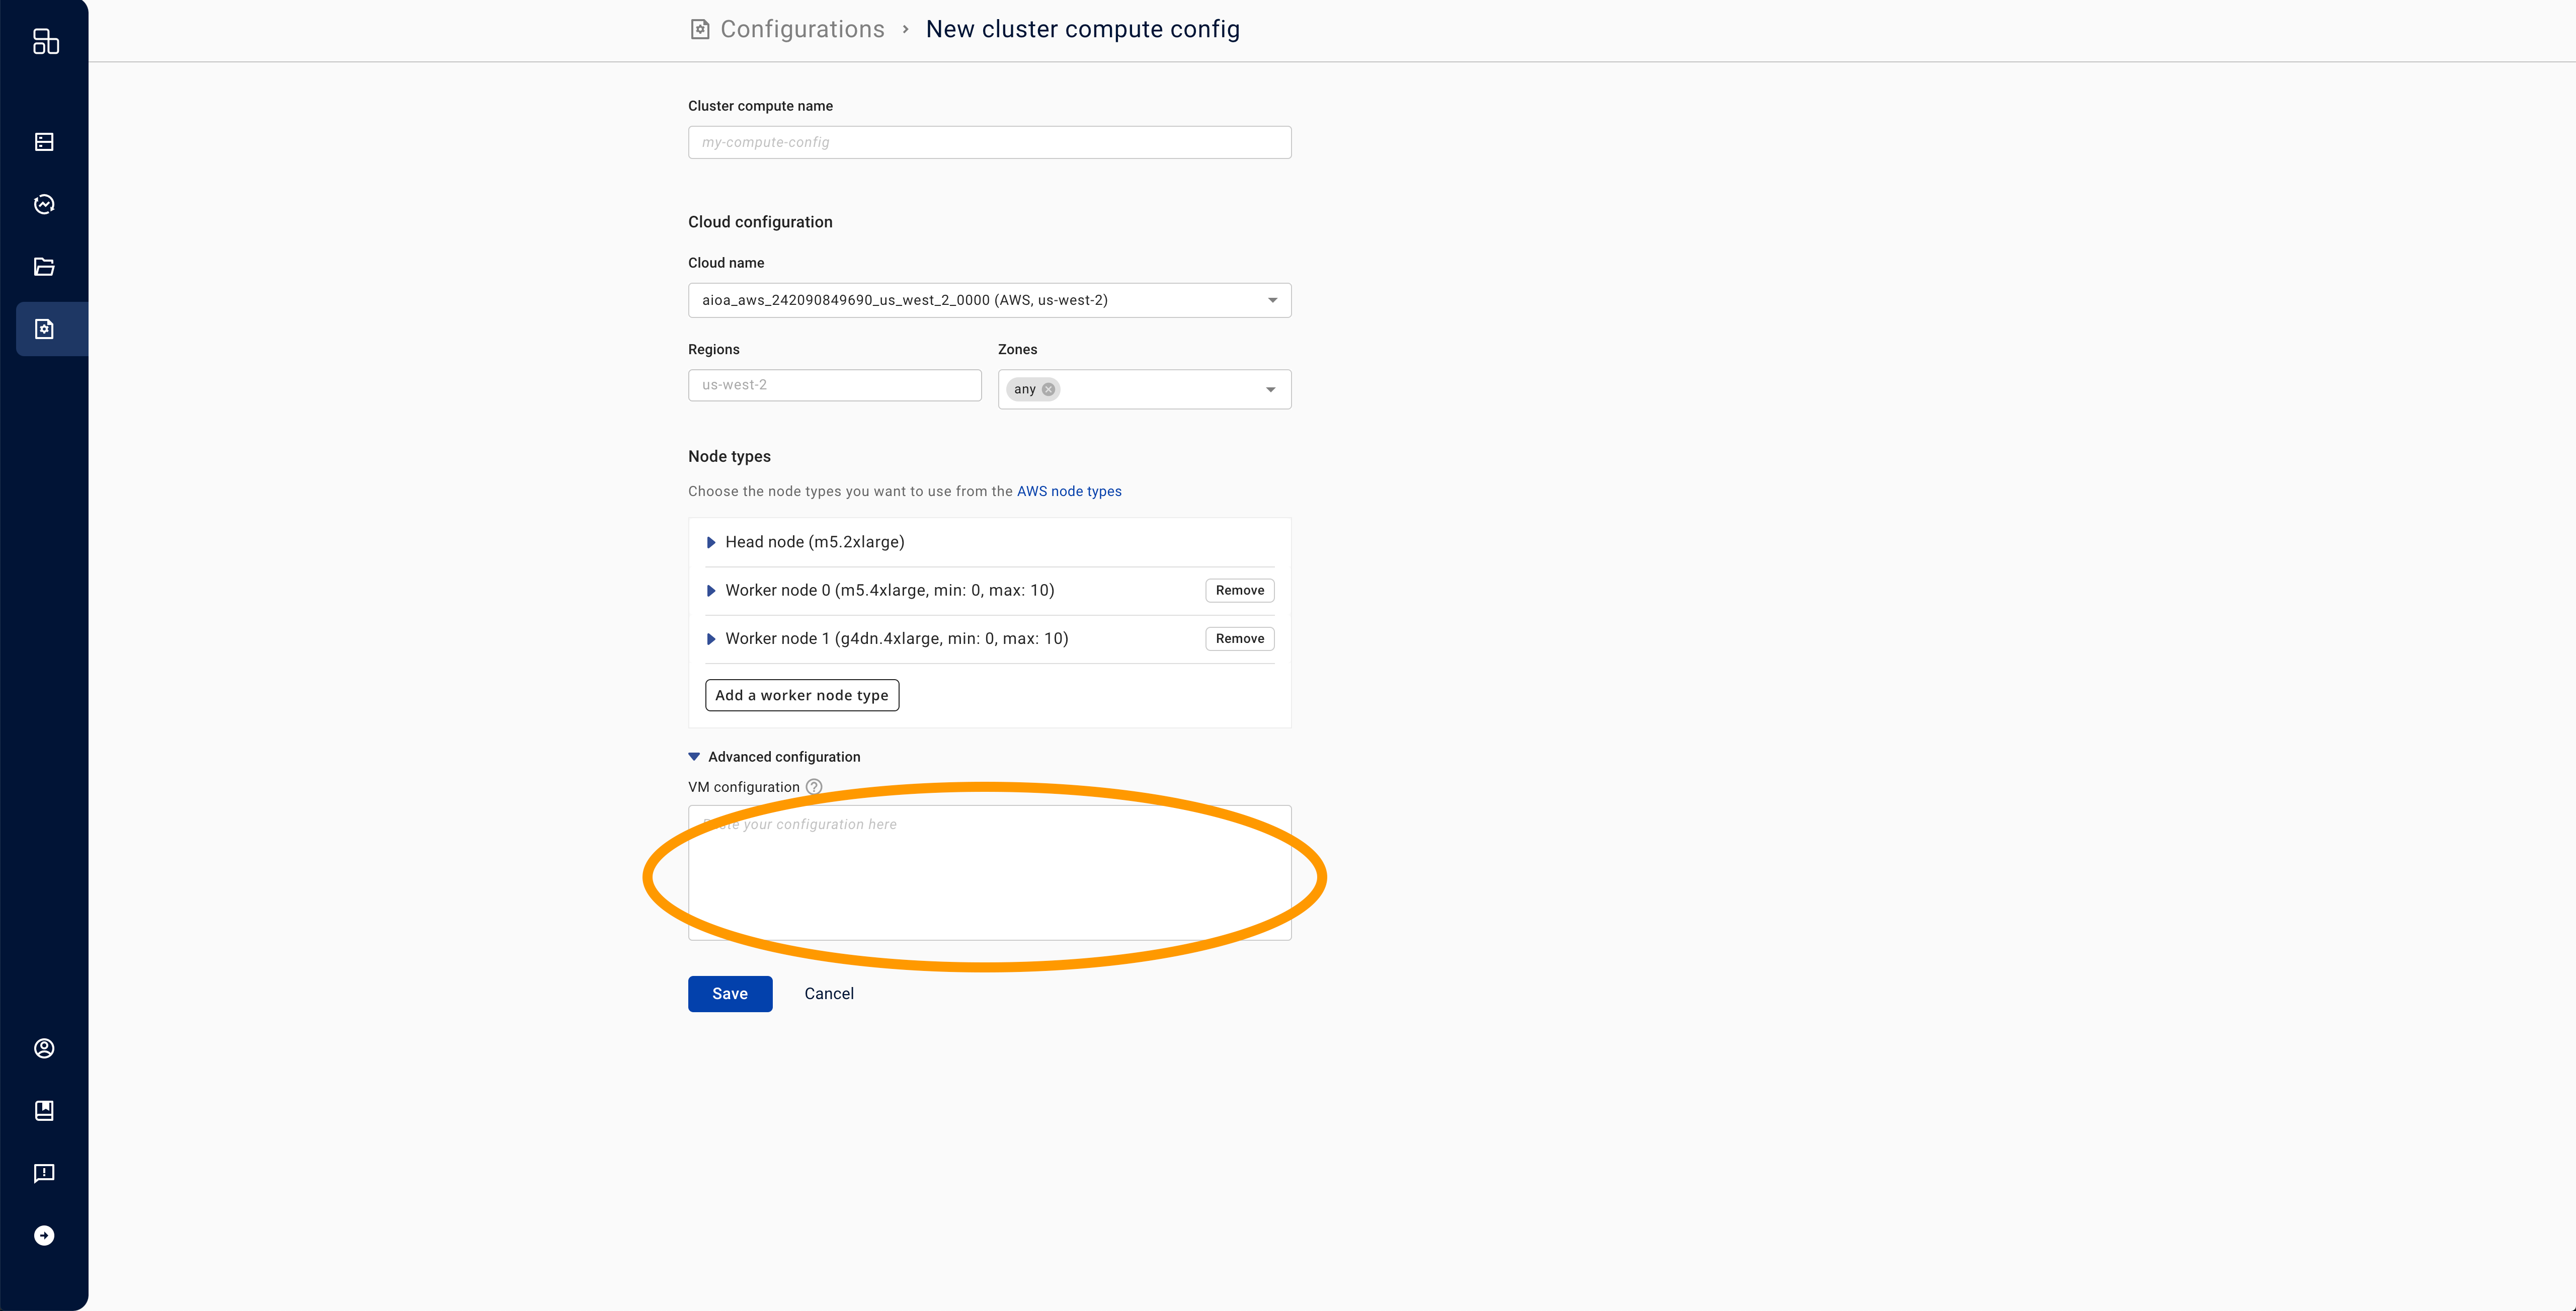
- In the "Advanced Configuration" field, paste the following JSON, replacing
SERVICE_ACCOUNT_EMAILwith the actual email.
{
  "serviceAccount": {"email": "SERVICE_ACCOUNT_EMAIL"}
}
- Add a name for your cluster compute and press save. If you want to customize other parameters such as node configurations, do so at this time.
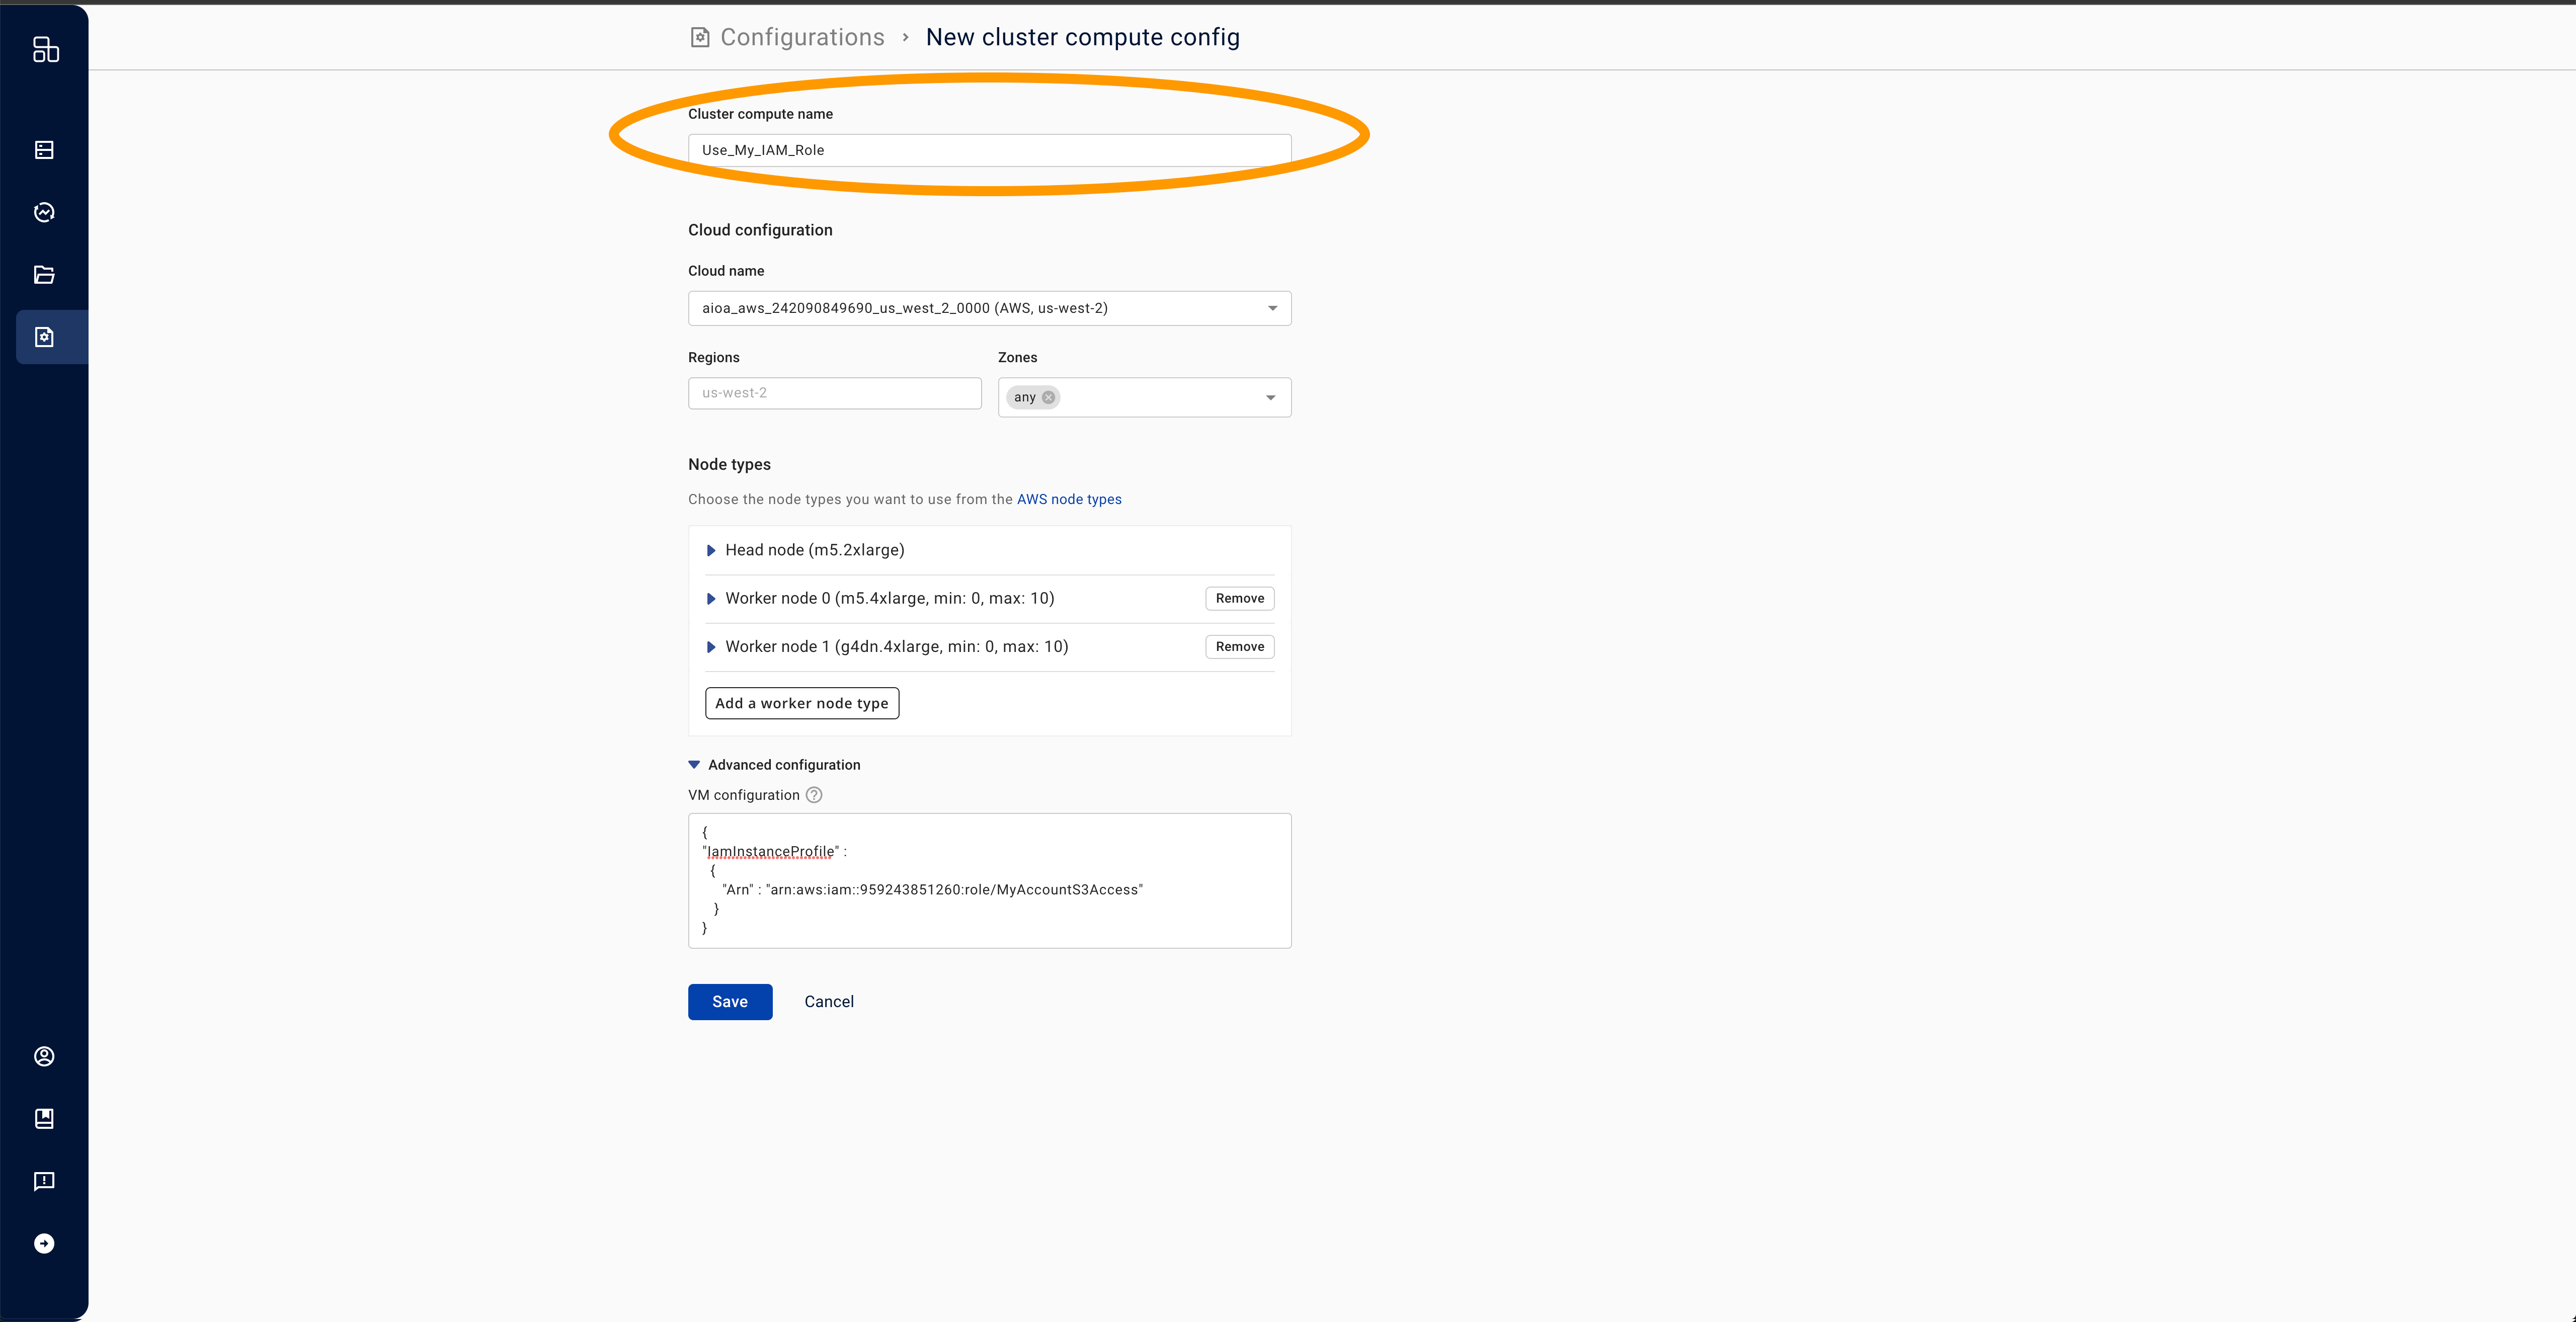
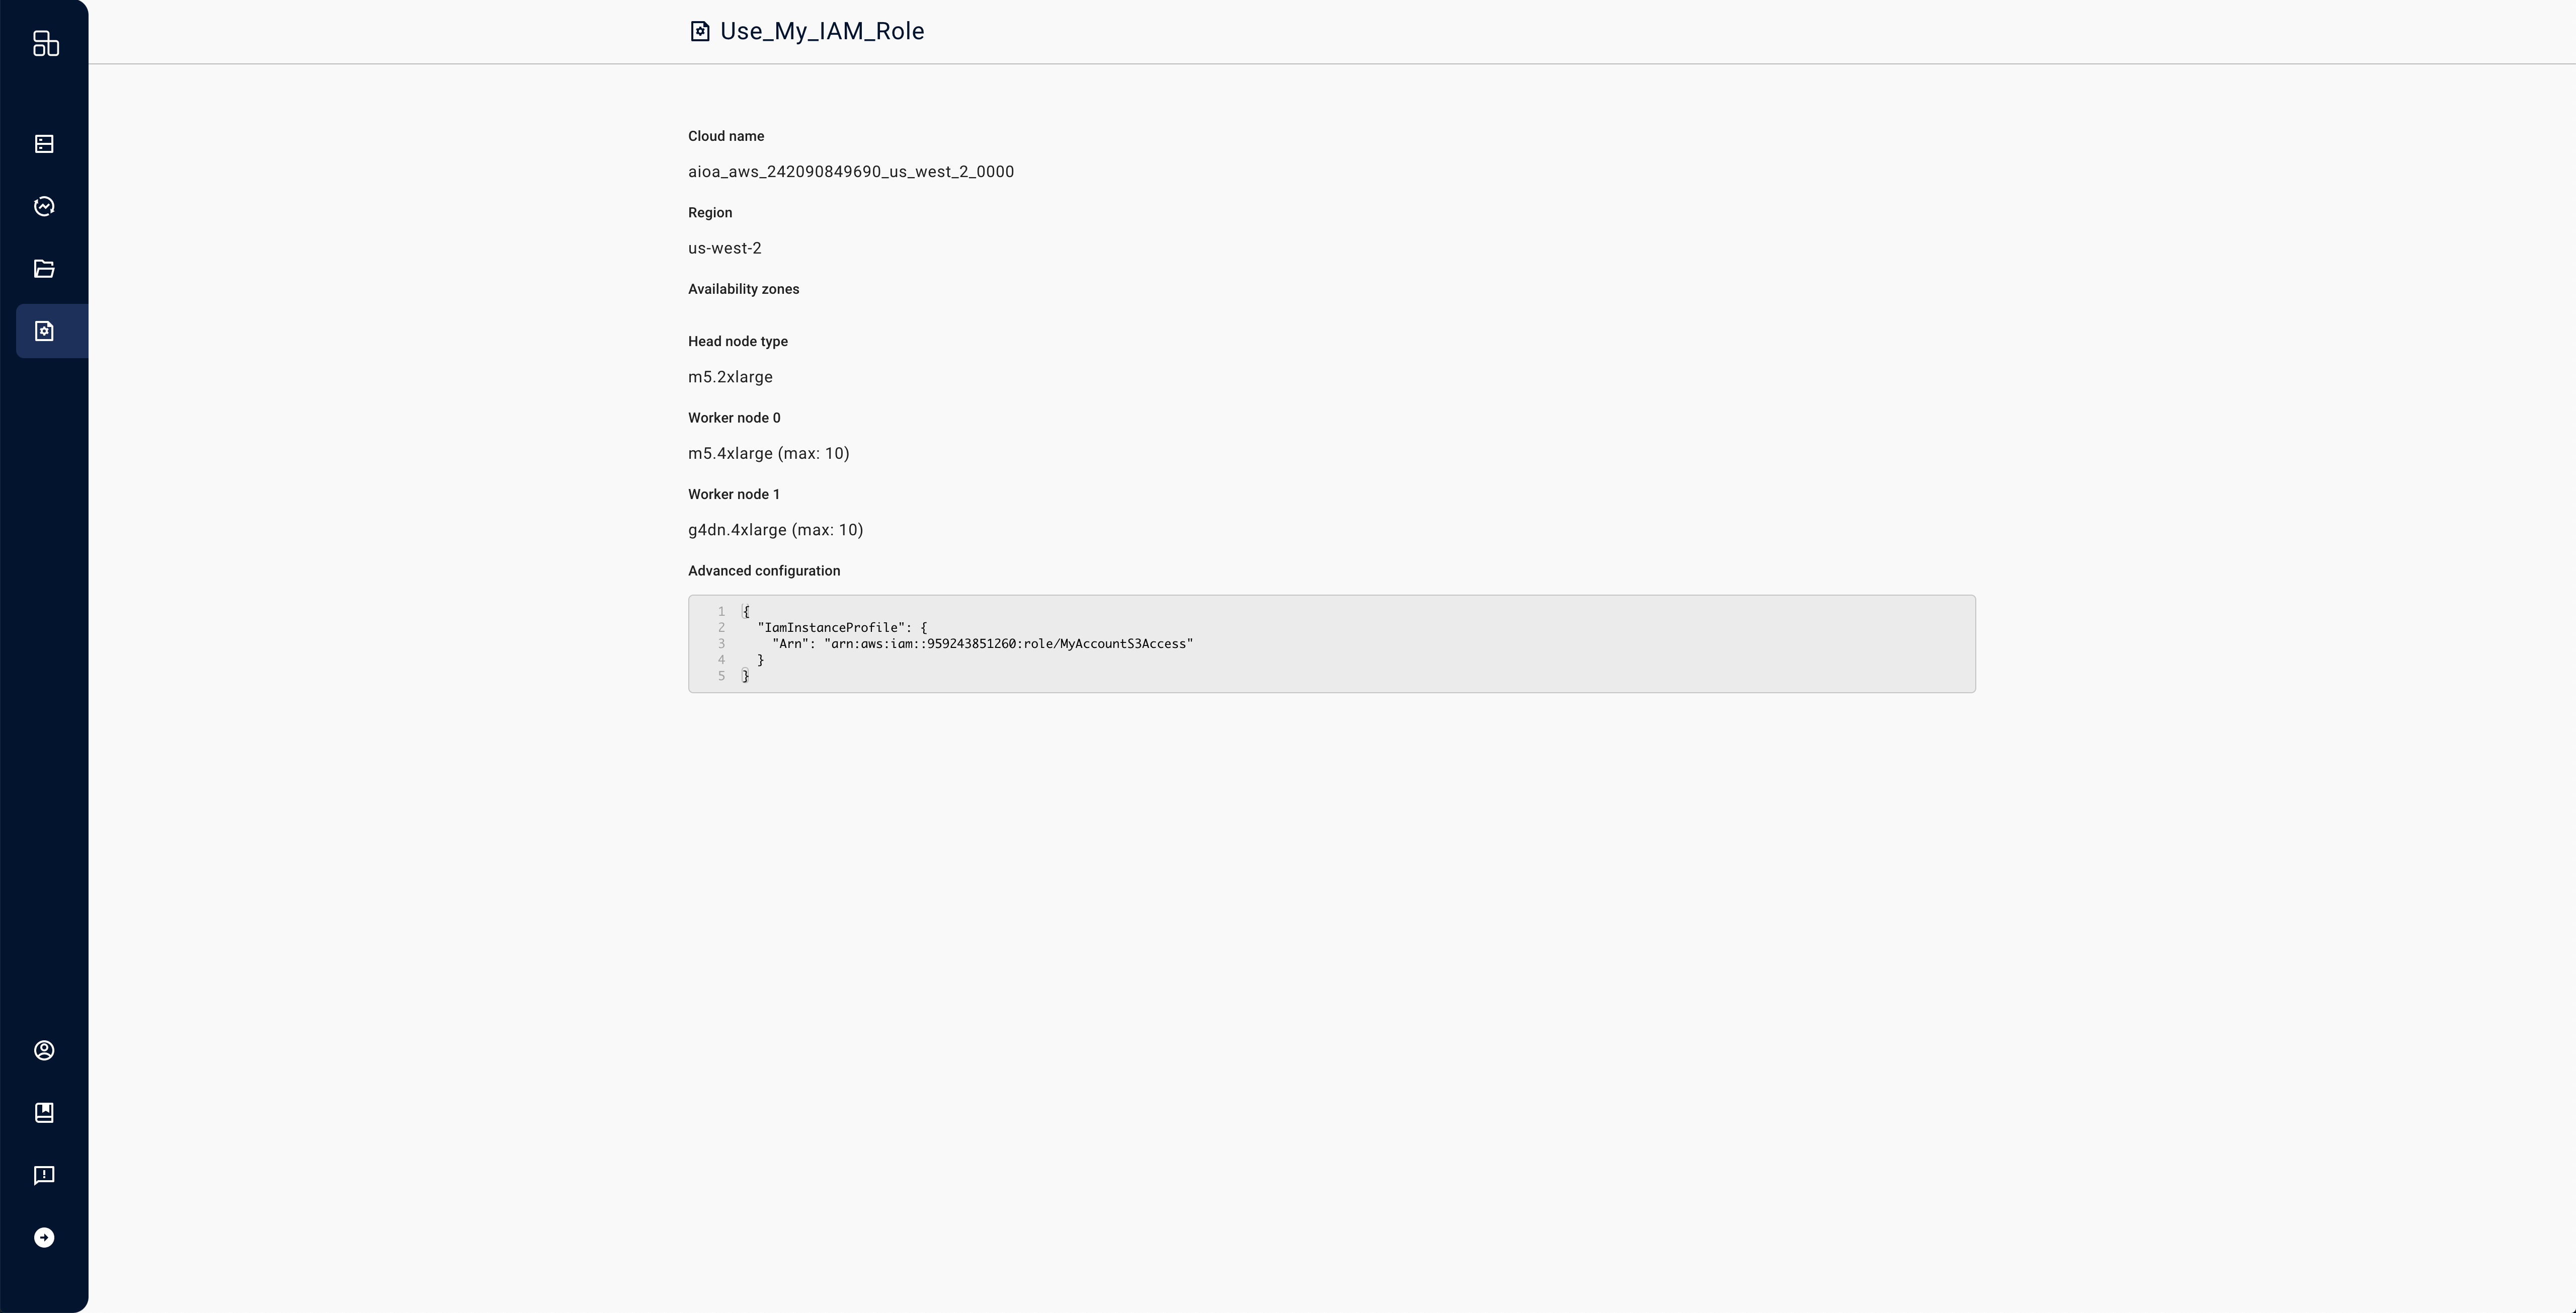
- Ensure that you use this compute config when you launch clusters.
Each cluster runs with a single service account and uses the newly configured service account instead of the default.