Compute configurations for AWS
Compute configurations for AWS
This page lists common cloud-specific compute configurations for Anyscale clouds deployed on AWS. You specify these options using the Instance config field in the Anyscale console at the node or cluster level.
When you configure settings with the Instance config field for a worker group, those settings fully replace the Instance config field at the cluster level for that group.
If your workload uses a machine pool, Anyscale merges your Instance config on top of the launch template defaults rather than fully replacing them. Some fields deep-merge by identity key. See Override machine pool defaults from a compute config.
Use cluster-level advanced_instance_config for settings that apply to all nodes, such as disk size, IAM roles, security groups, and subnets. Use worker-group-level advanced_instance_config for settings specific to a worker group, such as capacity reservations.
For a general overview of compute configs, see Compute configuration on Anyscale.
For configuration settings applicable to all Anyscale clouds, see Advanced settings for compute configs on Anyscale.
For a complete reference of configurable fields, see the AWS docs or contact Anyscale support.
Anyscale doesn't support setting the following fields:
ClientToken
DryRun
ImageId
InstanceType
Ipv6Addresses
LaunchTemplate
MaxCount
MinCount
PrivateIpAddress
SecurityGroups
UserData
Manage capacity reservations
Anyscale supports capacity reservations for worker nodes, which can be especially useful for instance types with limited capacity such as GPUs.
You can use machine pools to share capacity reservations across multiple workloads. See Share compute resources with Anyscale machine pools.
The following example demonstrates configuring a worker node to use virtual machines from an AWS EC2 On-Demand Capacity Reservation.
- Anyscale console
- CLI
Configure a capacity reservation in the Anyscale console by adding the following settings to the Instance config field for a worker node in your compute config:
{
  "CapacityReservationSpecification": {
    "CapacityReservationTarget": {
      "CapacityReservationId": "<reservation-id>"
    }
  }
}
Use the following syntax to configure a capacity reservation in a compute config YAML for the Anyscale CLI. See Compute config CLI.
cloud: <cloud-name>
head_node:
  instance_type: <head-instance-type>
worker_nodes:
  - instance_type: <worker-instance-type>
    min_nodes: <min-nodes>
    max_nodes: <max-nodes>
    advanced_instance_config:
      CapacityReservationSpecification:
        CapacityReservationTarget:
          CapacityReservationId: <reservation-id>
To configure a capacity reservation for an AWS Capacity Block for ML, you must add an additional configuration, as in the following example:
- Anyscale console
- CLI
Add the following settings to the Instance config field for a worker node in your compute config:
{
  "InstanceMarketOptions": {
    "MarketType": "capacity-block"
  },
  "CapacityReservationSpecification": {
    "CapacityReservationTarget": {
      "CapacityReservationId": "<reservation-id>"
    }
  }
}
Use the following syntax in a compute config YAML for the Anyscale CLI. See Compute config CLI.
cloud: <cloud-name>
head_node:
  instance_type: <head-instance-type>
worker_nodes:
  - instance_type: <worker-instance-type>
    min_nodes: <min-nodes>
    max_nodes: <max-nodes>
    advanced_instance_config:
      InstanceMarketOptions:
        MarketType: capacity-block
      CapacityReservationSpecification:
        CapacityReservationTarget:
          CapacityReservationId: <reservation-id>
Change the default disk size
The default disk size for all nodes in an Anyscale cluster is 150 GB. You can change the default disk size for the entire cluster or an individual worker node type.
To modify the default disk size from the console UI, use the Advanced configuration section for the worker node or the Advanced settings section for the entire cluster. The following example increases the default to 500 GB.
{
  "BlockDeviceMappings": [
    {
      "Ebs": {
        "VolumeSize": 500,
        "VolumeType": "gp3",
        "DeleteOnTermination": true
      },
      "DeviceName": "/dev/sda1"
    }
  ]
}
The following is an example YAML that modifies the disk for all nodes in the Anyscale cluster:
cloud: <cloud-name>
head_node:
  instance_type: <head-instance-type>
worker_nodes:
  - instance_type: <worker-instance-type>
    min_nodes: <min-nodes>
    max_nodes: <max-nodes>
advanced_instance_config:
  BlockDeviceMappings:
    - Ebs:
        VolumeSize: 500
        VolumeType: gp3
        DeleteOnTermination: true
      DeviceName: "/dev/sda1"
NVMe configuration
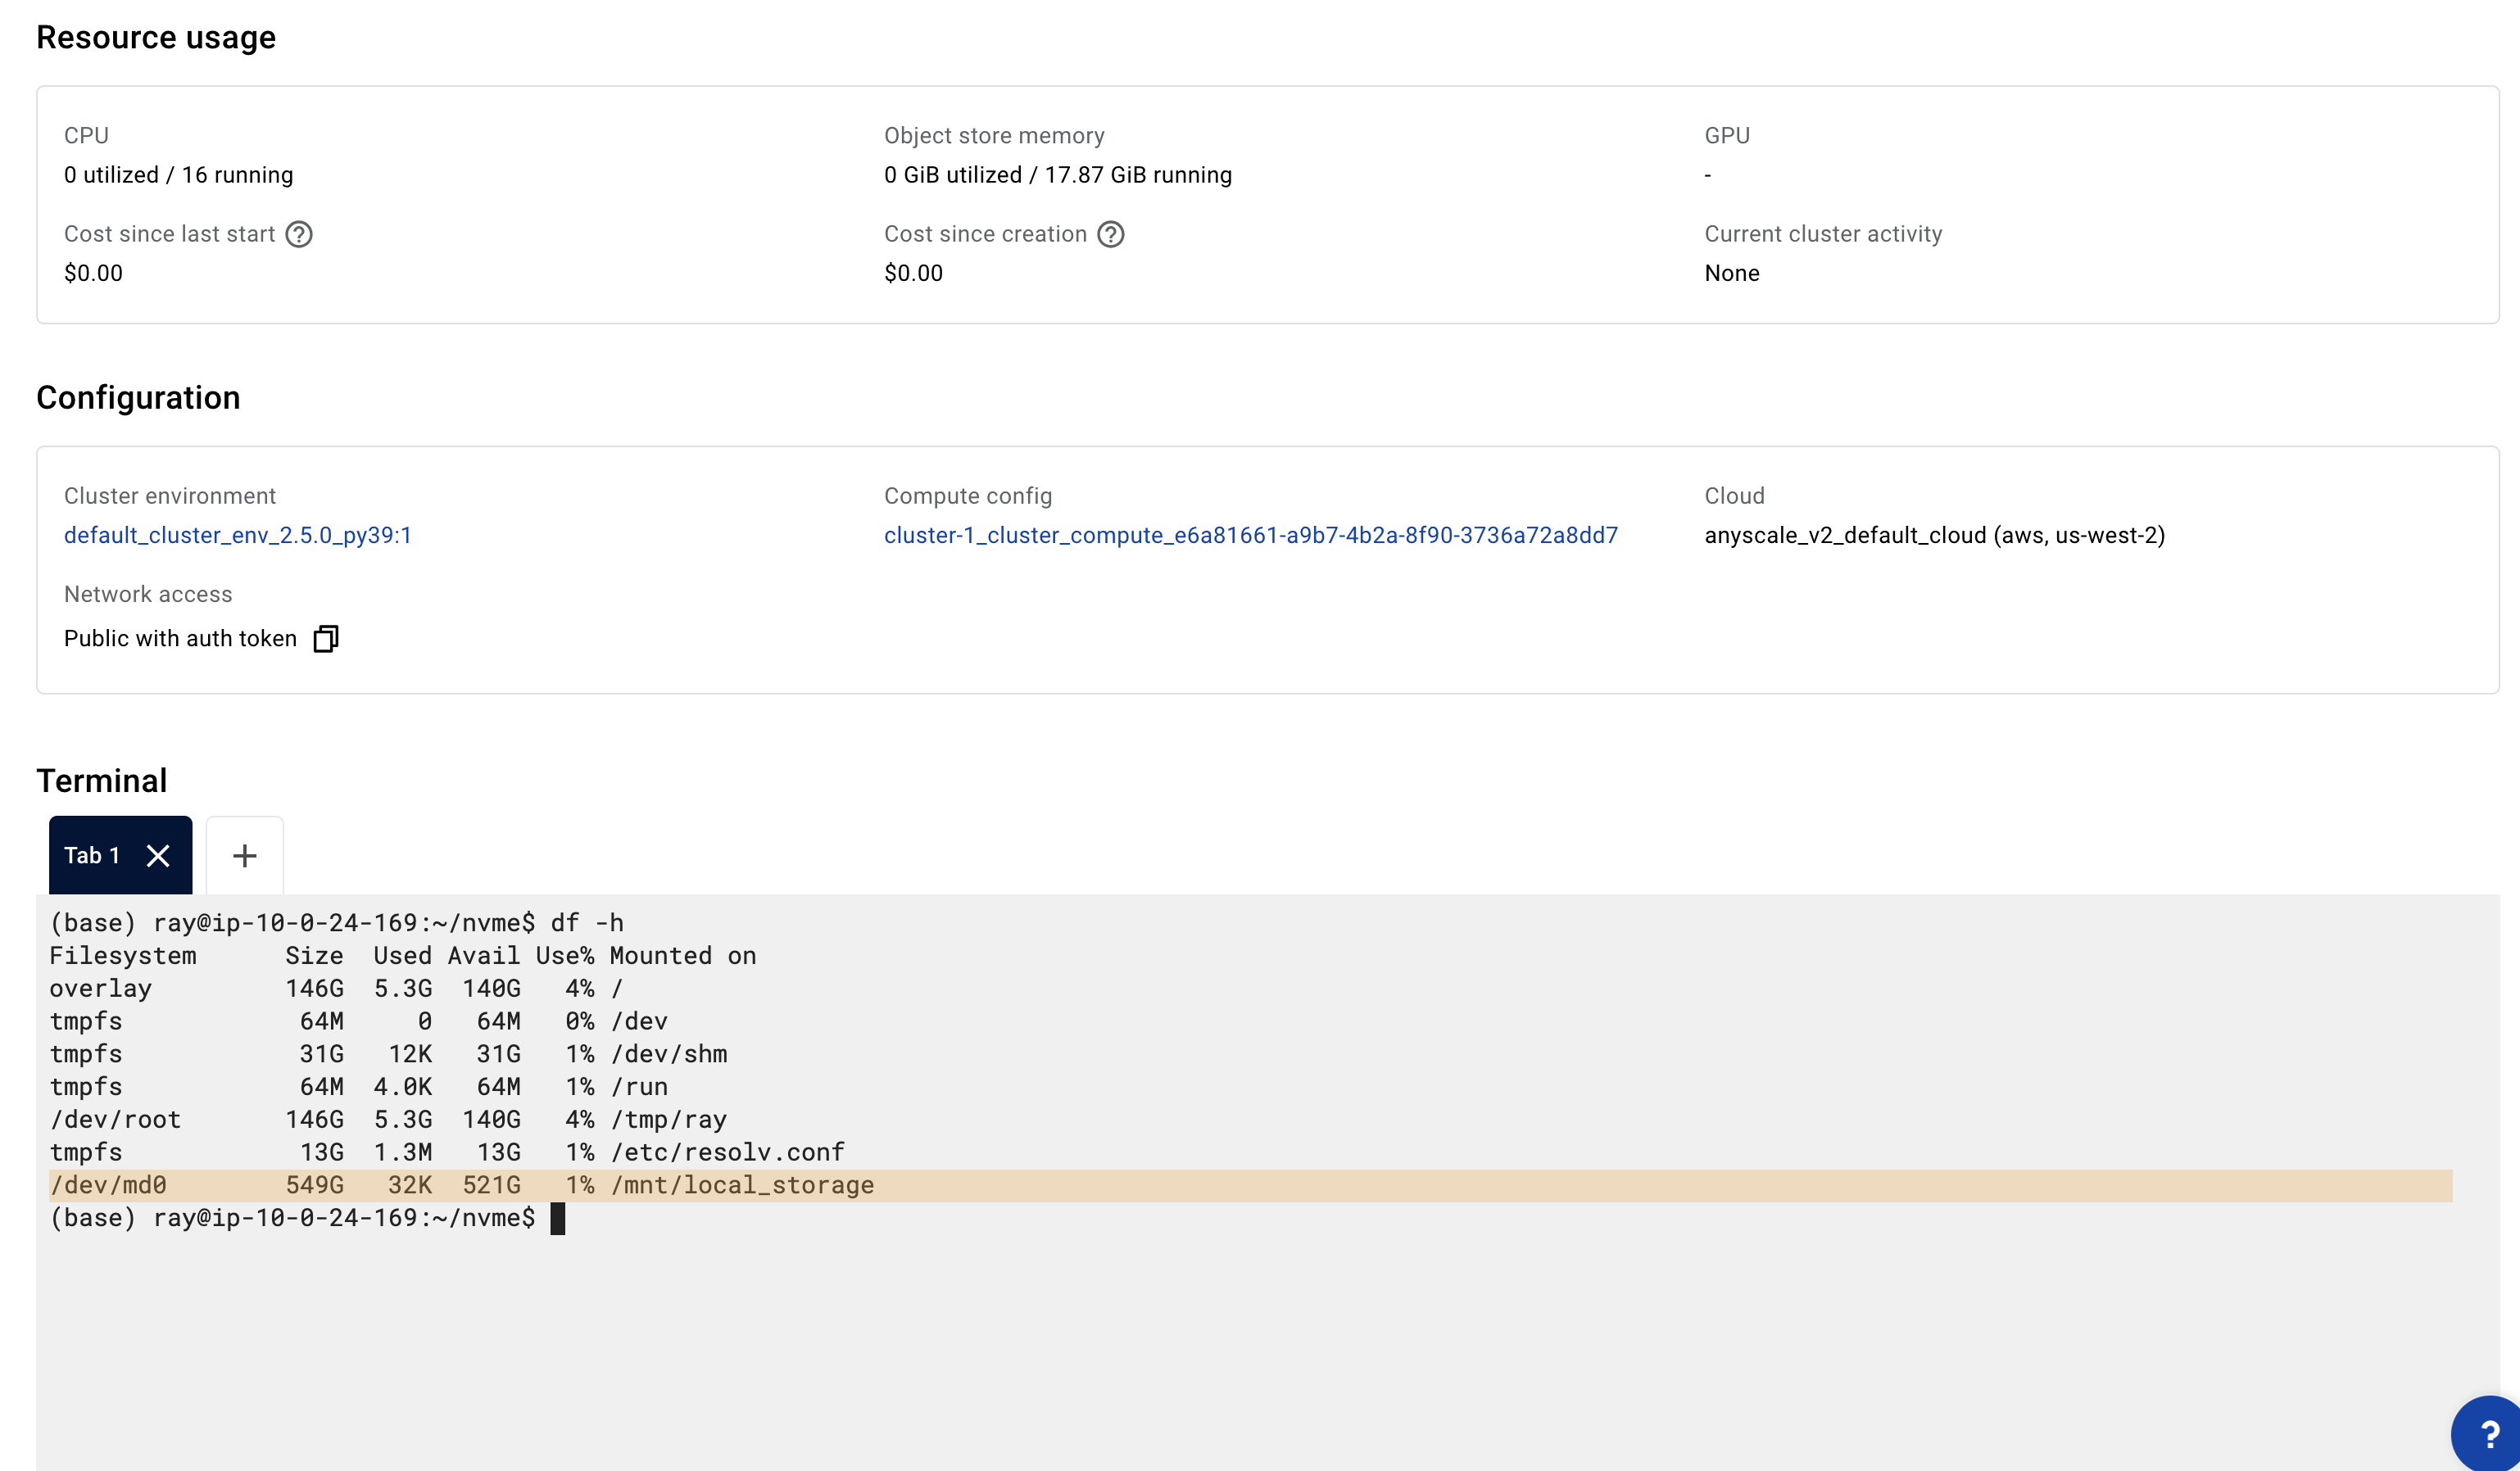
Anyscale supports the Non-Volatile Memory Express (NVMe) interface for accessing SSD storage volumes, which adds temporary storage to instances. Anyscale exposes /mnt/local_storage as the mount path in the Ray container by default. For instance types without NVMe, /mnt/local_storage falls back to the root disk.
You can choose EC2 instance types that have NVMe. See AWS instance store documentation for more details. Anyscale then automatically detects these devices, formats them, and mounts them when the Ray Container starts.
Anyscale configures EC2 instance types that have multiple NVMe devices with a software RAID (RAID 0), which maximizes disk performance.
Mount an existing EBS volume to the head node
On AWS virtual machine clouds, you can attach an existing EBS volume to the head node and mount it into the Ray container to persist data such as a build cache across restarts. You configure this in the head node's advanced features. This feature is in beta. See Mount an EBS volume to the head node.
Subnets, security groups, and instance IAM role
Specify the following configurations for the entire cluster (don't specify them for individual node groups unless you have to):
-
Security groups and subnets:
- Any security groups registered with the cloud.
- Any subset of the security groups registered with the cloud.
-
Instance IAM role:
- Any IAM role for the cluster to run with. It must have an instance profile with the same name as the role.
To modify them from the console UI, use the Advanced settings section for the entire cluster.
{
  "IamInstanceProfile": {"Arn": "arn:aws:iam::<>:role/<>"},
  "SecurityGroupIds": ["security-group-id"],
  "SubnetId": "subnet-id",
}
This following sample YAML modifies the security groups, subnets, and instance IAM role for all nodes in the Anyscale cluster:
cloud: <cloud-name>
head_node:
  instance_type: <head-instance-type>
worker_nodes:
  - instance_type: <worker-instance-type>
    min_nodes: <min-nodes>
    max_nodes: <max-nodes>
advanced_instance_config:
  IamInstanceProfile:
    Arn: "arn:aws:iam::<>:role/<>"
  SecurityGroupIds:
    - "security-group-id"
  SubnetId: "subnet-id"
Configure Elastic Fabric Adapter (EFA) support
You can configure your Anyscale cluster to use Elastic Fabric Adapter (EFA) to accelerate network communication between nodes in your cluster.
EFA requirements
EFA support has the following requirements:
- You configure inbound and outbound communication between EFA and the security group used by Anyscale.
- You must set the environment variable
FI_PROVIDER=efa. - You must use an image that contains the following libraries:
- EFA libraries
- Libfabric libraries
- NCCL
- AWS OFI NCCL
- If using machine pools, you must configure EFA at the instance level. Cluster-level EFA configuration isn't supported for machine pools.
Anyscale slim base images don't include the necessary libraries by default.
Cluster-level EFA configuration
Anyscale recommends configuring EFA at the cluster level to simplify setup.
The console might prompt you to change your configuration if you enable EFA with the incorrect settings for zones.
Make sure you select a single zone and don't enable cross-zone scaling.
To configure EFA for your cluster, complete the following steps:
- In your compute config, click Advanced settings.
- Select a single zone in the Allowed zones field.
- Click Advanced features.
- To add EFA to your cluster and use the default values, add the
efa_configproperty with an empty object, as in the following example:
{
    "efa_config": {}
}
You can optionally specify the following parameters for efa_config using JSON syntax:
| Parameter | Description | Default |
|---|---|---|
device_count | (Optional) The number of EFA interfaces to use per supported instance. If 0, disables EFA. | The maximum supported number of EFA interfaces for each supported node type. |
placement_group | (Optional) The name of the placement group for the EFA interfaces. For recommendations, see AWS docs. | None. |
security_group_id | (Optional) The security group used by EFA. | The security group configured for the selected zone. |
Instance-level EFA setup
You can optionally configure EFA at the instance level. This provides you with more flexibility to customize your configuration but can be prone to errors.
Configuring EFA at the instance level for any worker group overrides cluster-level configuration to all nodes.
To configure EFA for your head node or worker nodes, complete the following steps:
- In your compute config, click the name of the node.
- Click Advanced config.
- In the Instance config tab, add the
NetworkInterfacesoption using JSON syntax, as in the following example:
{
    "NetworkInterfaces": [
      {
          "Groups": [
              "sg-1234" # your security group id
          ],
          "SubnetId": "subnet-1234",
          "DeviceIndex": 0,
          "InterfaceType": "efa",
          "NetworkCardIndex": 0
      },
      {
          "Groups": [
              "sg-1234"
          ],
          "SubnetId": "subnet-1234",
          "DeviceIndex": 1,
          "InterfaceType": "efa",
          "NetworkCardIndex": 1
      },
      {
          "Groups": [
              "sg-1234"
          ],
          "SubnetId": "subnet-1234",
          "DeviceIndex": 1,
          "InterfaceType": "efa",
          "NetworkCardIndex": 2
      },
      {
          "Groups": [
              "sg-1234"
          ],
          "SubnetId": "subnet-1234",
          "DeviceIndex": 1,
          "InterfaceType": "efa",
          "NetworkCardIndex": 3
      }
    ],
    "Placement": { "GroupName": "my-placement-group" } # optional but recommended
}
You must specify the security group and subnet ID when configuring EFA at the instance level.
You must specify the correct DeviceIndex and NetworkCardIndex for each interface.